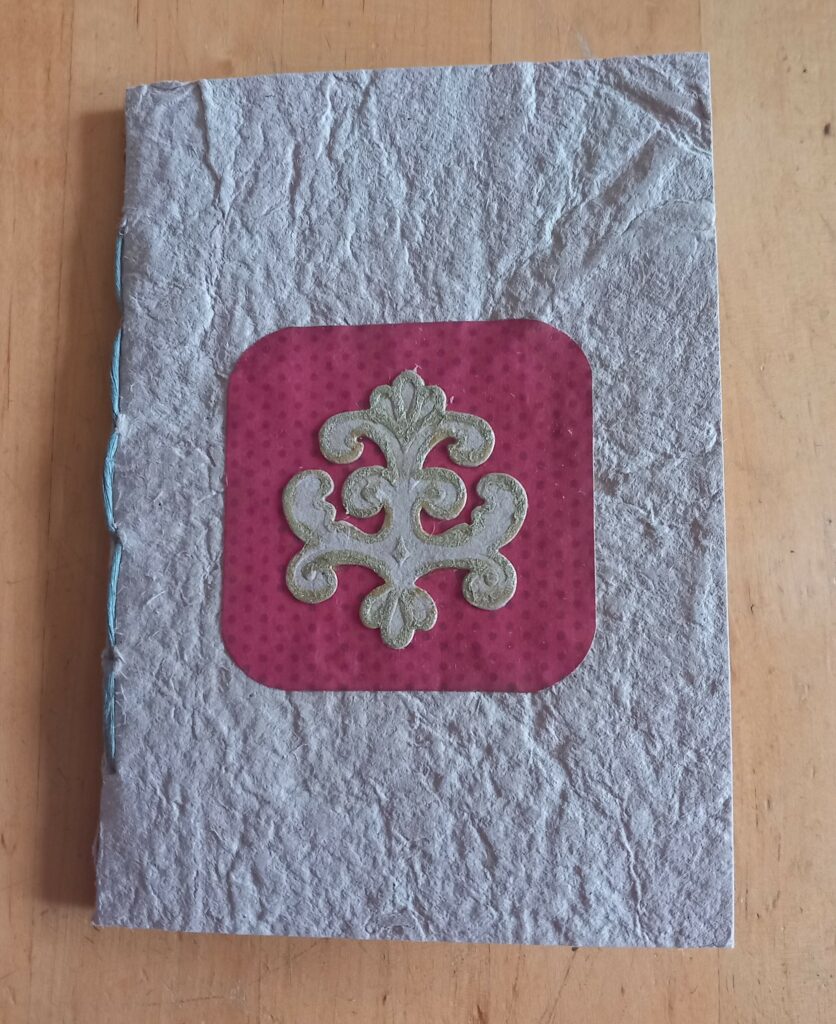
Handmade paper sequel

Click here to see how it all started…
Well how did the paper making go? In the end, I gave up on waiting for some fine, sunny weather to dry my paper, and just did my best to keep it in drier corners of the terrace, and as a last desperate move, lay each sheet, one at a time, in front of the wood fire. The desperation paid off, and I ended up with about eight sheets of paper with a fantastic organic texture. I wasn’t too surprised at the result as I had started out with light carton rolls and packaging materials which were hardly likely to provide me with an elegant finish or light colour paper. But I’m very pleased with how the paper came out, and have already used most of it for making a small collection of handmade notebooks which are already up for sale if anyone is interested. Just follow this link…
I have created a set of instructions for you to download from this page if you are inspired to attempt papermaking…
Here I include a couple of ‘how-to’ videos as references to link in with the instructions. Bear in mind that I was working outdoors at a temperature of about 4°C, so the water was pretty chilly! There are plenty of videos available on this subject on internet, but what I offer here is a good starting point.
This clip shows you the lifting stage — collecting pulp on the frame and wire mesh. After collecting the pulp, very carefully sponge off excess water.
After collecting the pulp and removing as much excess water as possible, turn the frame over to tap off the pulp onto a scrap of cloth such as old sheeting or towelling
Now to find somewhere for the paper to dry. The situation shown in the video is not ideal — better to dry flat if possible. Hanging the paper vertically, you run the risk of losing it below — whatever below might be!